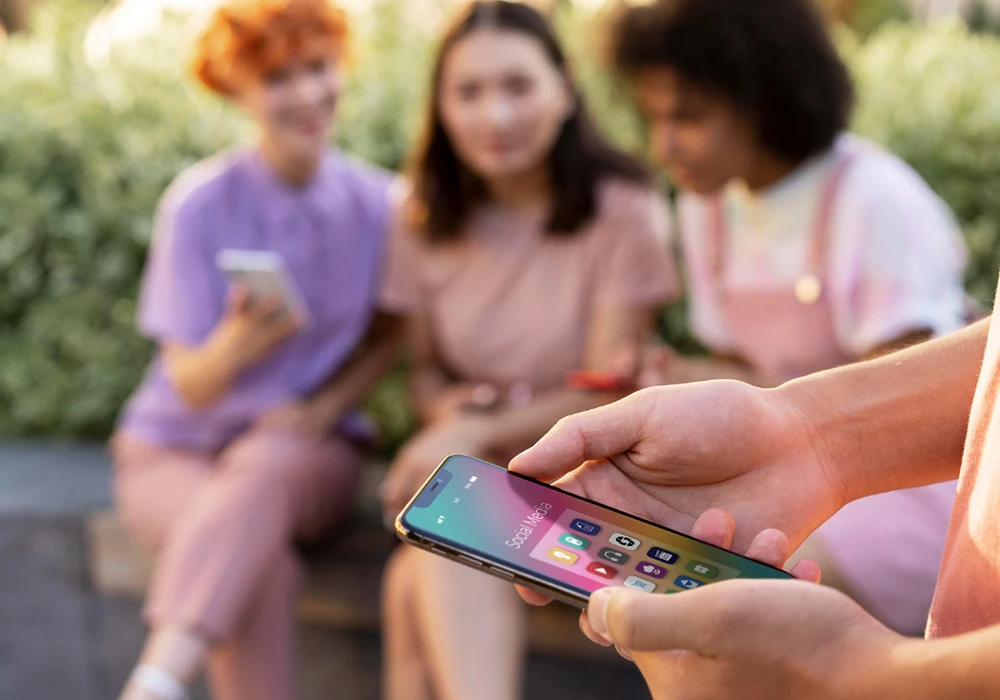
In the contemporary digital landscape, maintaining a well-organized contact list is essential. iPhone users can elevate their communication efficiency by crafting contact groups and streamlining activities like sending messages. This exhaustive guide is designed to guide you systematically through the process of how to make a contact group on your iPhone and then manage and optimize these contact groups, enabling you to unleash the maximum potential of your device. You should also protect your Iphone by covering it with Best iPhone 15 Pro Max Cases.
Create a contact group on your iPhone:
- Open the Contacts App:
Begin by launching the “Contacts” app, represented by a green icon, situated at the bottom of your iPhone screen.
- Go to the “Groups” option:
Depending on your syncing preferences, check for a “Groups” option at the top-left corner to reveal existing contact groups.
- Create a New Group:
– For iCloud Users:
– Click on the “All Contacts” options. A complete contact list will open.
– Choose the “+” icon situated at the top-right corner.
– Choose “New Group.”
– Assign a name to your group, then tap “Return” to complete the process.
– For Other Account Users (e.g., Google):
– Tap “Groups” or “Contacts.”
– Choose the “+” icon or “Create New” to initiate a new group.
– Assign a name and save your group.
How to add contacts to the group?
- Open Contact Details:
Locate the contact you want to include in your newly formed group.
- Add to Group:
– – Scroll down and opt for “Add to a Group” or a similar choice.
– Select the group you wish to assign the contact to.
- Repeat for Additional Contacts:
– Go back to your contact list.
– Repeat this procedure for each contact you intend to include in the group.
How to send messages to your Contact Group?
- Open the Messages App:
– Launch the “Messages” app on your iPhone screen.
- Start a New Message:
– Select the pencil icon to begin writing a new message.
– Enter the name of your contact group in the recipient field.
- Send Your Message:
– Compose your message.
– Hit “Send.”
How to remove a contact from your group?
- Access the Contact:
– Open the contact you intend to remove from the group.
- Edit Contact Details:
– At the top-right corner of the screen, locate the “Edit” option and click on it to proceed.
- Remove from Group:
– Scroll down to locate the “Groups” section.
– Select the group you want to remove the contact from.
- Save Changes:
– Click the “Done” option to confirm the changes you made and enjoy.
How to delete (remove) a contact group on your iPhone?
- Navigate to Groups:
– Launch the “Contacts” app from your home screen to initiate the process.
– Click on “Groups” to find out your existing contact groups.
- Edit Groups:
– Click the “Edit” option located at the top-left corner.
- Delete the Group:
– Find the group you want to delete.
– Tap the red minus icon next to the group name.
– Confirm the deletion.
- Save Changes:
– Click the “Done” option to confirm the changes and enjoy.
Conclusion:
In concluding our guide on how to create a contact group on your iPhone, you’ve just unlocked a world of smoother communication. Now, sending messages to specific groups, managing your contacts effortlessly, and even tidying up your list by removing or deleting groups is amazingly simple. Your iPhone is more than a device; it’s your personalized hub for ideal connectivity. With these simple steps, you’re not just organizing contacts – you’re enhancing your entire digital experience. So, dive into the newfound ease of managing your contacts, and let your iPhone be the efficient communication companion it’s meant to be.


